Coxinha- Brazilian Chicken Croquettes
Happy 2016! Hope y'all enjoyed your holidays. I figured what better way to kick off a new year than with something wholesome, tasty and fried. Because I'm generous and thoughtful to your diet-detox-waist training situation like that. Savory chicken salad wrapped in dough made of flour and chicken stock and flash fried for good measure. Oh and Dukes Mayo.. Dammit 2016 is off to a good start. Coxinha, is Brazilian street food at it's finest. At it's most basic, shredded chicken wrapped in dough, then battered and fried. Think next level chicken nuggets. However, my first experience was on the streets of São Paulo and the filling was more like a bean paste and the coating was manioc flour surrounding the dough. The crisp outside layer crunched, met with a chewy dough layer, and ultimately this savory filling that was nothing short of Heavenly. I went back to that stand 6 times over the course of one week (it was right beside the guy selling the drinks), on the last day I may have purchased all the coxinha's she had ready on her cart. When returning home and sharing with a friend of mine the tales of my gluttonous exploits, I learned more about them. Such as, they're actually called Coxinha- and not fried hot pockets. As well as, how my southern accent butchers most words that are meant to sound foreign. My friend, originally from Recife, got down with the get down and made me a huge batch following her grandma's recipe.. I've been in love with the "Co-Co" ever since and although these are a bit on the time consuming end, I still try to whip them up on special occasions, like New Years Eve Dinner parties. And always have enough leftovers for the little guy in my life....
These take a bit of time.. It's sort of a 4 step process to chicken fried sin..
Hot Grease Notes: *I used vegetable oil here, but as a side note the best oils for frying foods are those with high smoke points, so that they don't burn the food while frying it. Vegetable, peanut, canola and even pecan oil are all great.* *You don't need a deep fryer to deep fry- A deep sauce pan, wok, or stock pot will get the job done. You want to make sure you have a thermometer to read the temp of the oil.* *There should be enough oil in the pot to cover what you are cooking. For this recipe it's about 1 quart (4 cups) which was enough to cover.* *Don't overload the pot with food when frying. Adding too much food at one time will cause the temp to plunge making for some funky fried chicken, fish, etc. The goal is to maintain the same temp over the course of frying all of your batches of food. End Game- golden crisp crunch on each piece.* *When removing fried foods from the grease make sure you have a sheet pan topped with a drying wire rack to place the food on. This will allow the excess grease to drain before you serve. I'm guilt of putting food on paper towels out of the grease sometimes, but this can cause the crisp outside to become soggy.*
You'll Need These- 2 to 4 quart pot with lid | Large pot stock pot or wok to use for frying (thermometer) | Large bowl | sheet pan and wire rack |
Coxinha (Brazilian Chicken Croquettes) Prep Time- 45mins Cook Time- 25mins Yield- 2 dozen Adapted from Epicurious You'll Need These- 2 to 4 quart pot with lid| Large pot stock pot or wok to use for frying (thermometer)| Large bowl | sheet pan and wire rack| * Duke's Mayo is a cornerstone in southern cuisine.. it can transform the most basic dishes into sensational meals. I realize it's not as easily found outside the "Magnolia Curtain", so you can substitute with whatever type of mayonnaise you have on hand. Just not Miracle Whip.. Just say no to miracle whip..* Ingredients:
For the stock and to poach the chicken: 1 pound boneless chicken breast 4 cups chicken broth 1 onion, peeled and quartered 1 celery rib, quartered 1 teaspoon kosher salt
For the filling: 8 oz cream cheese, softened ¼ cup Dukes Mayo 2 green onions, thinly sliced 1 garlic clove, minced
For the Dough: ½ tablespoon olive oil 2 cups all-purpose flour
Breading: 1 egg 1 tablespoon whole milk 1 cup plain bread crumbs
Directions: Poach the chicken: In a large pot, add the chicken in a single layer at the bottom of the pot. Then add the onion, celery and salt. Pour the broth over the top, it should fully cover the chicken and vegetables (If not add more). Bring to a boil on the stove over medium high heat. Reduce heat to medium low and Cover allowing the chicken to simmer for 15-20 minutes. Start checking the chicken after about 10 minutes. It should be opaque in the center and (using a instant read thermometer- it should read 165°F)
Turn off the stove and remove chicken from the pot. (Leave the pot with the liquid on the stove to cool)
Allow chicken to rest for about 10 minutes or else your fingers will be on fire trying to shredded that meat while it's hot. #trustme
Chicken will shredded easily with a fork or you can use a knife. Just make sure to cut (or shred) the meat finely so it will mix well in with the other ingredients that go into the filling. It should make about 2 to 2 1/2 cups of shredded meat.
While the liquid is cooling, let's make the filling...
In a large bowl, mix the shredded chicken with cream cheese, dukes mayo, green onions, garlic and salt and pepper to taste. Fold in nicely to well incorporate all the ingredients. Set aside. *Dukes Mayo is a southern thing, if you're unable to find it in your area, use whatever mayo you have on hand. Just not the abomination that is called Miracle Whip*
Returning to the poaching liquid on the stove, strain about 1 ½ cups and you can discard the rest or if you're like me save this stock for other use. (I used it for some chicken and dumplings I made the next day)
Return the strained liquid back to the stockpot, add in the 1 tablespoon of olive oil and bring to a boil. Add flour slowly, while whisking vigorously until the dough forms. This only takes a minute so be careful. Remove from the heat and turn the dough out onto a lightly floured surface. Knead by patting out to about a ½ inch then folding over and repeating this process about 3 or four times to smooth out the dough. (Same way I do for biscuits) Roll the dough out to about ¼ inch thick.
Cut out small rounds using a 3in cutter or the floured rim of a round cup.
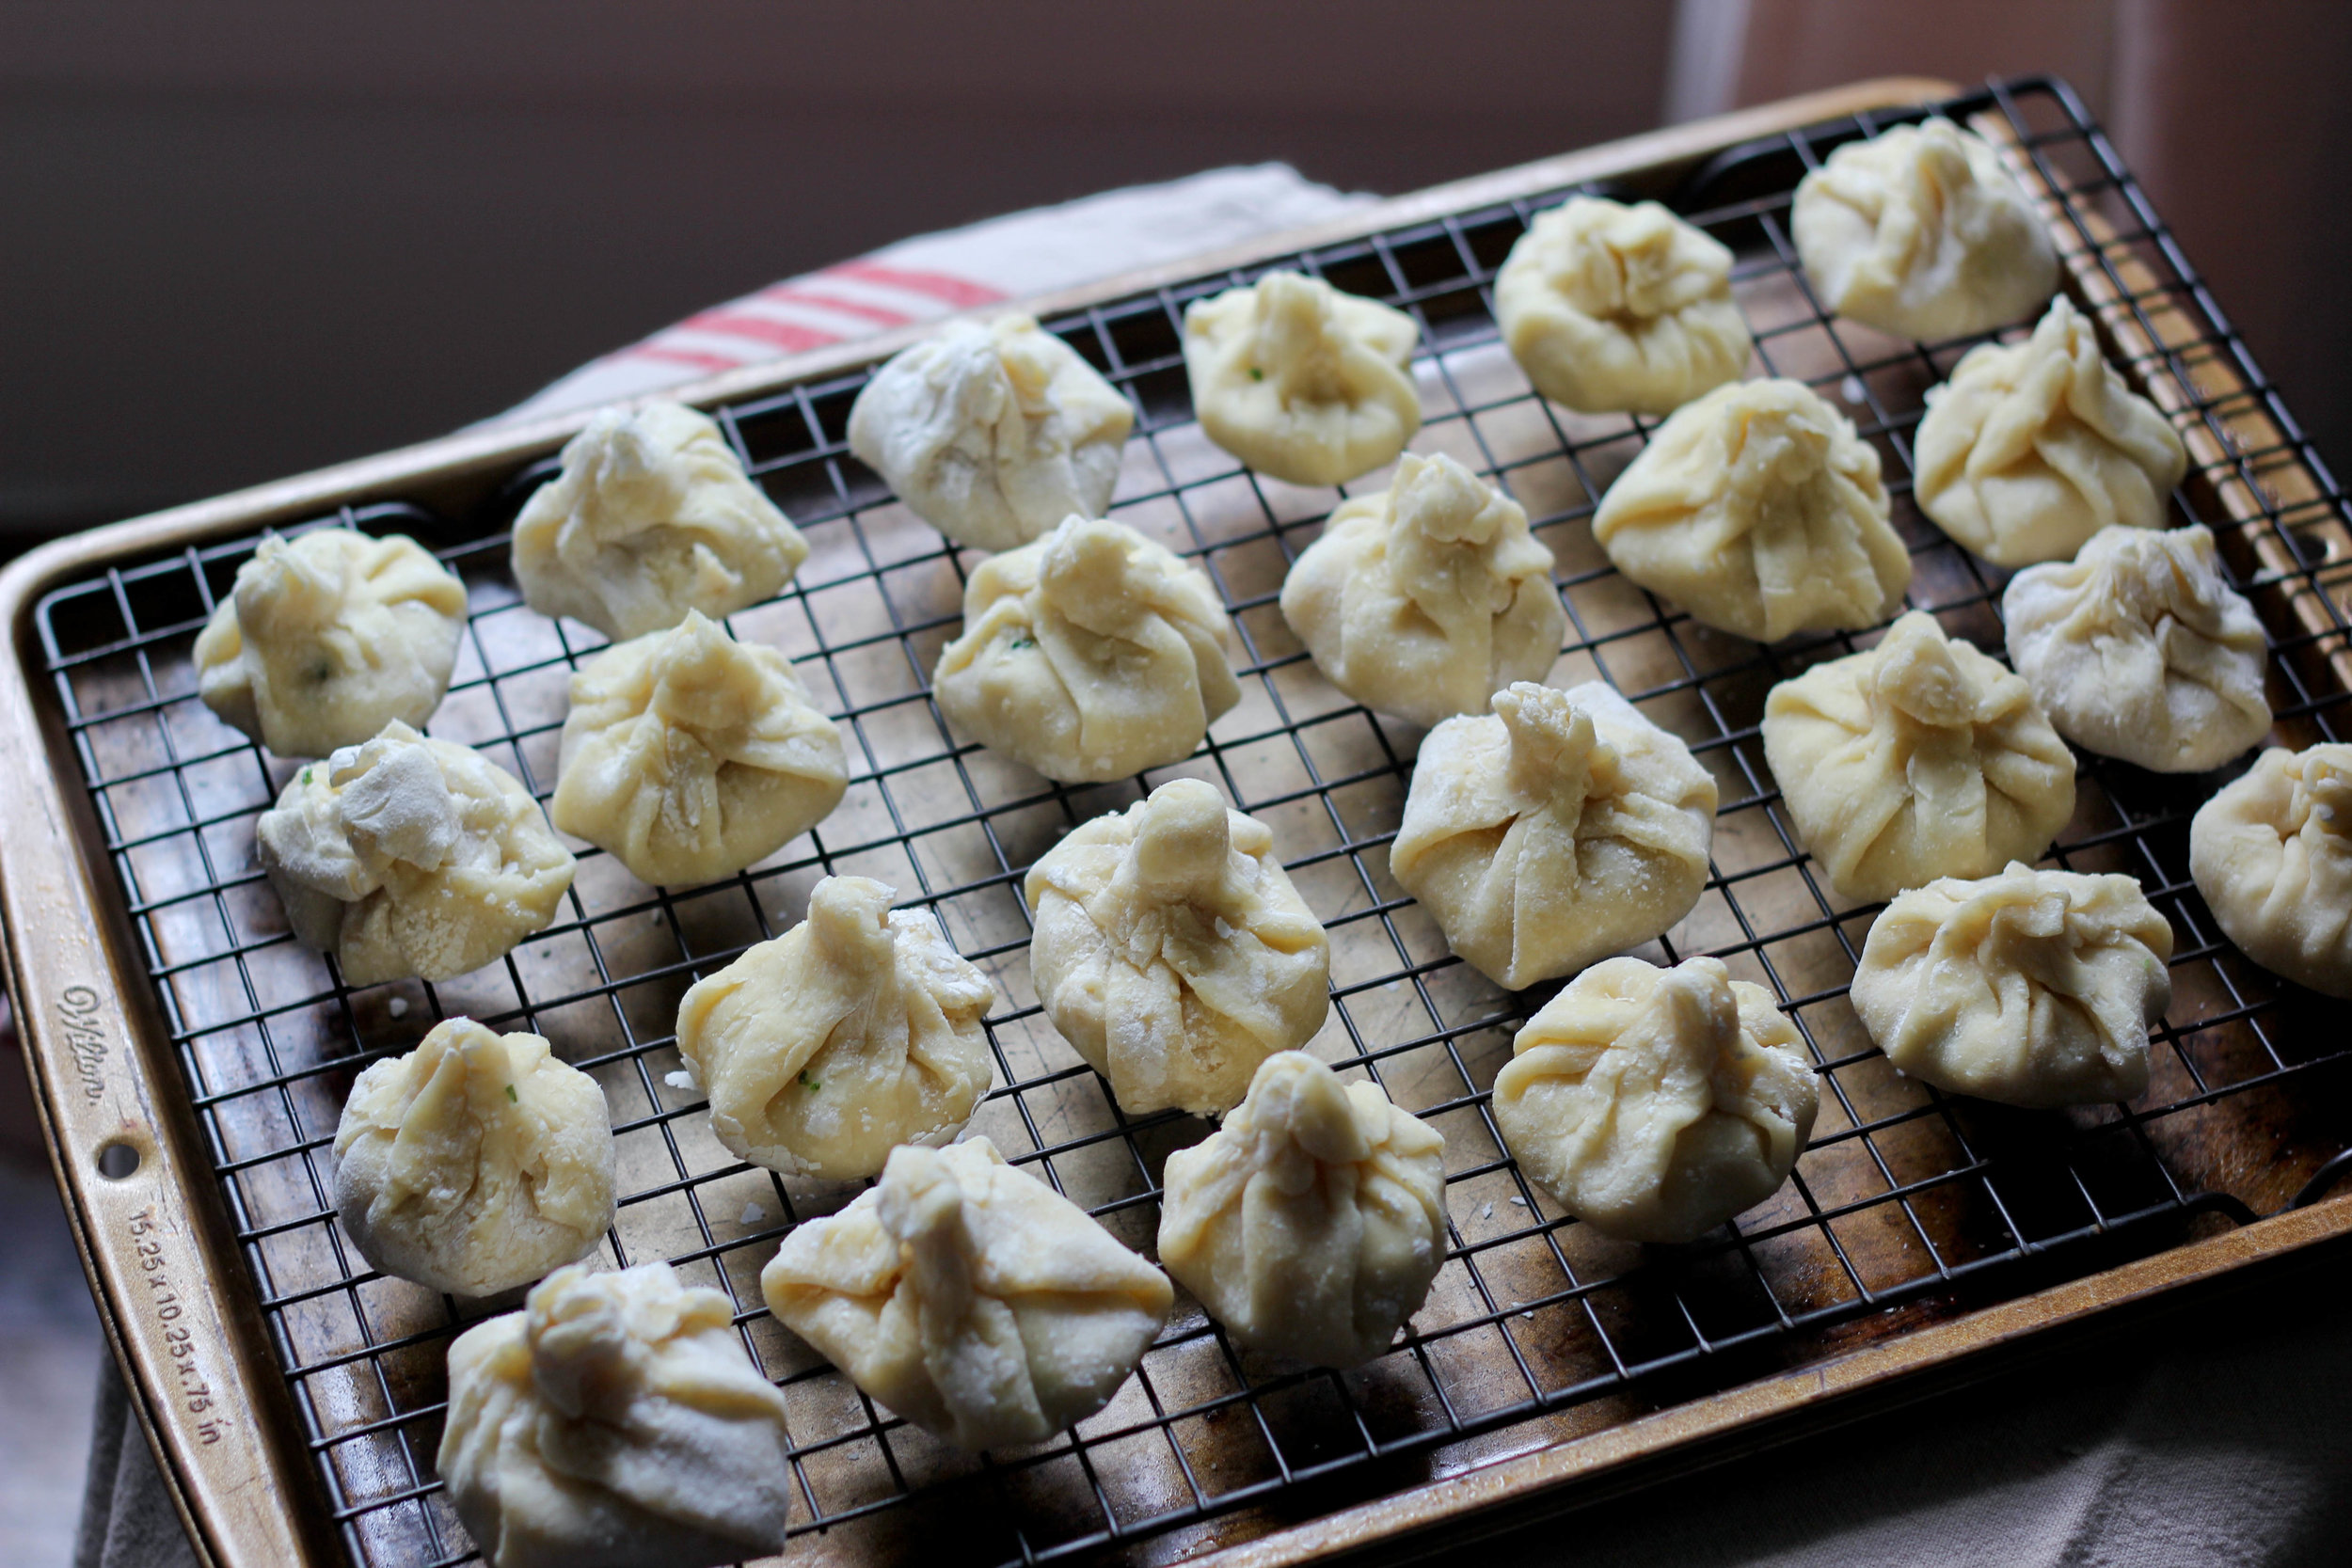
Place about a spoonful of the filling mixture in the center of each round and pinch the top of the round together at the top to seal. It's supposed to be a teardrop shape, as you can see mine were more of a twist and twirl with a pinch at the top, but whatever.
In a bowl, whisk together the egg and milk. Pour the bread crumbs out onto a plate, this will make it easier to roll the dough in.
Carefully dip each pouch into the egg wash and the roll in the crumbs to coat. Set them on the wire rack lined sheet pan once coated.
Heat your oil and fry: Over medium high heat bring the oil to 350°F. (see my additional notes of deep frying up top)
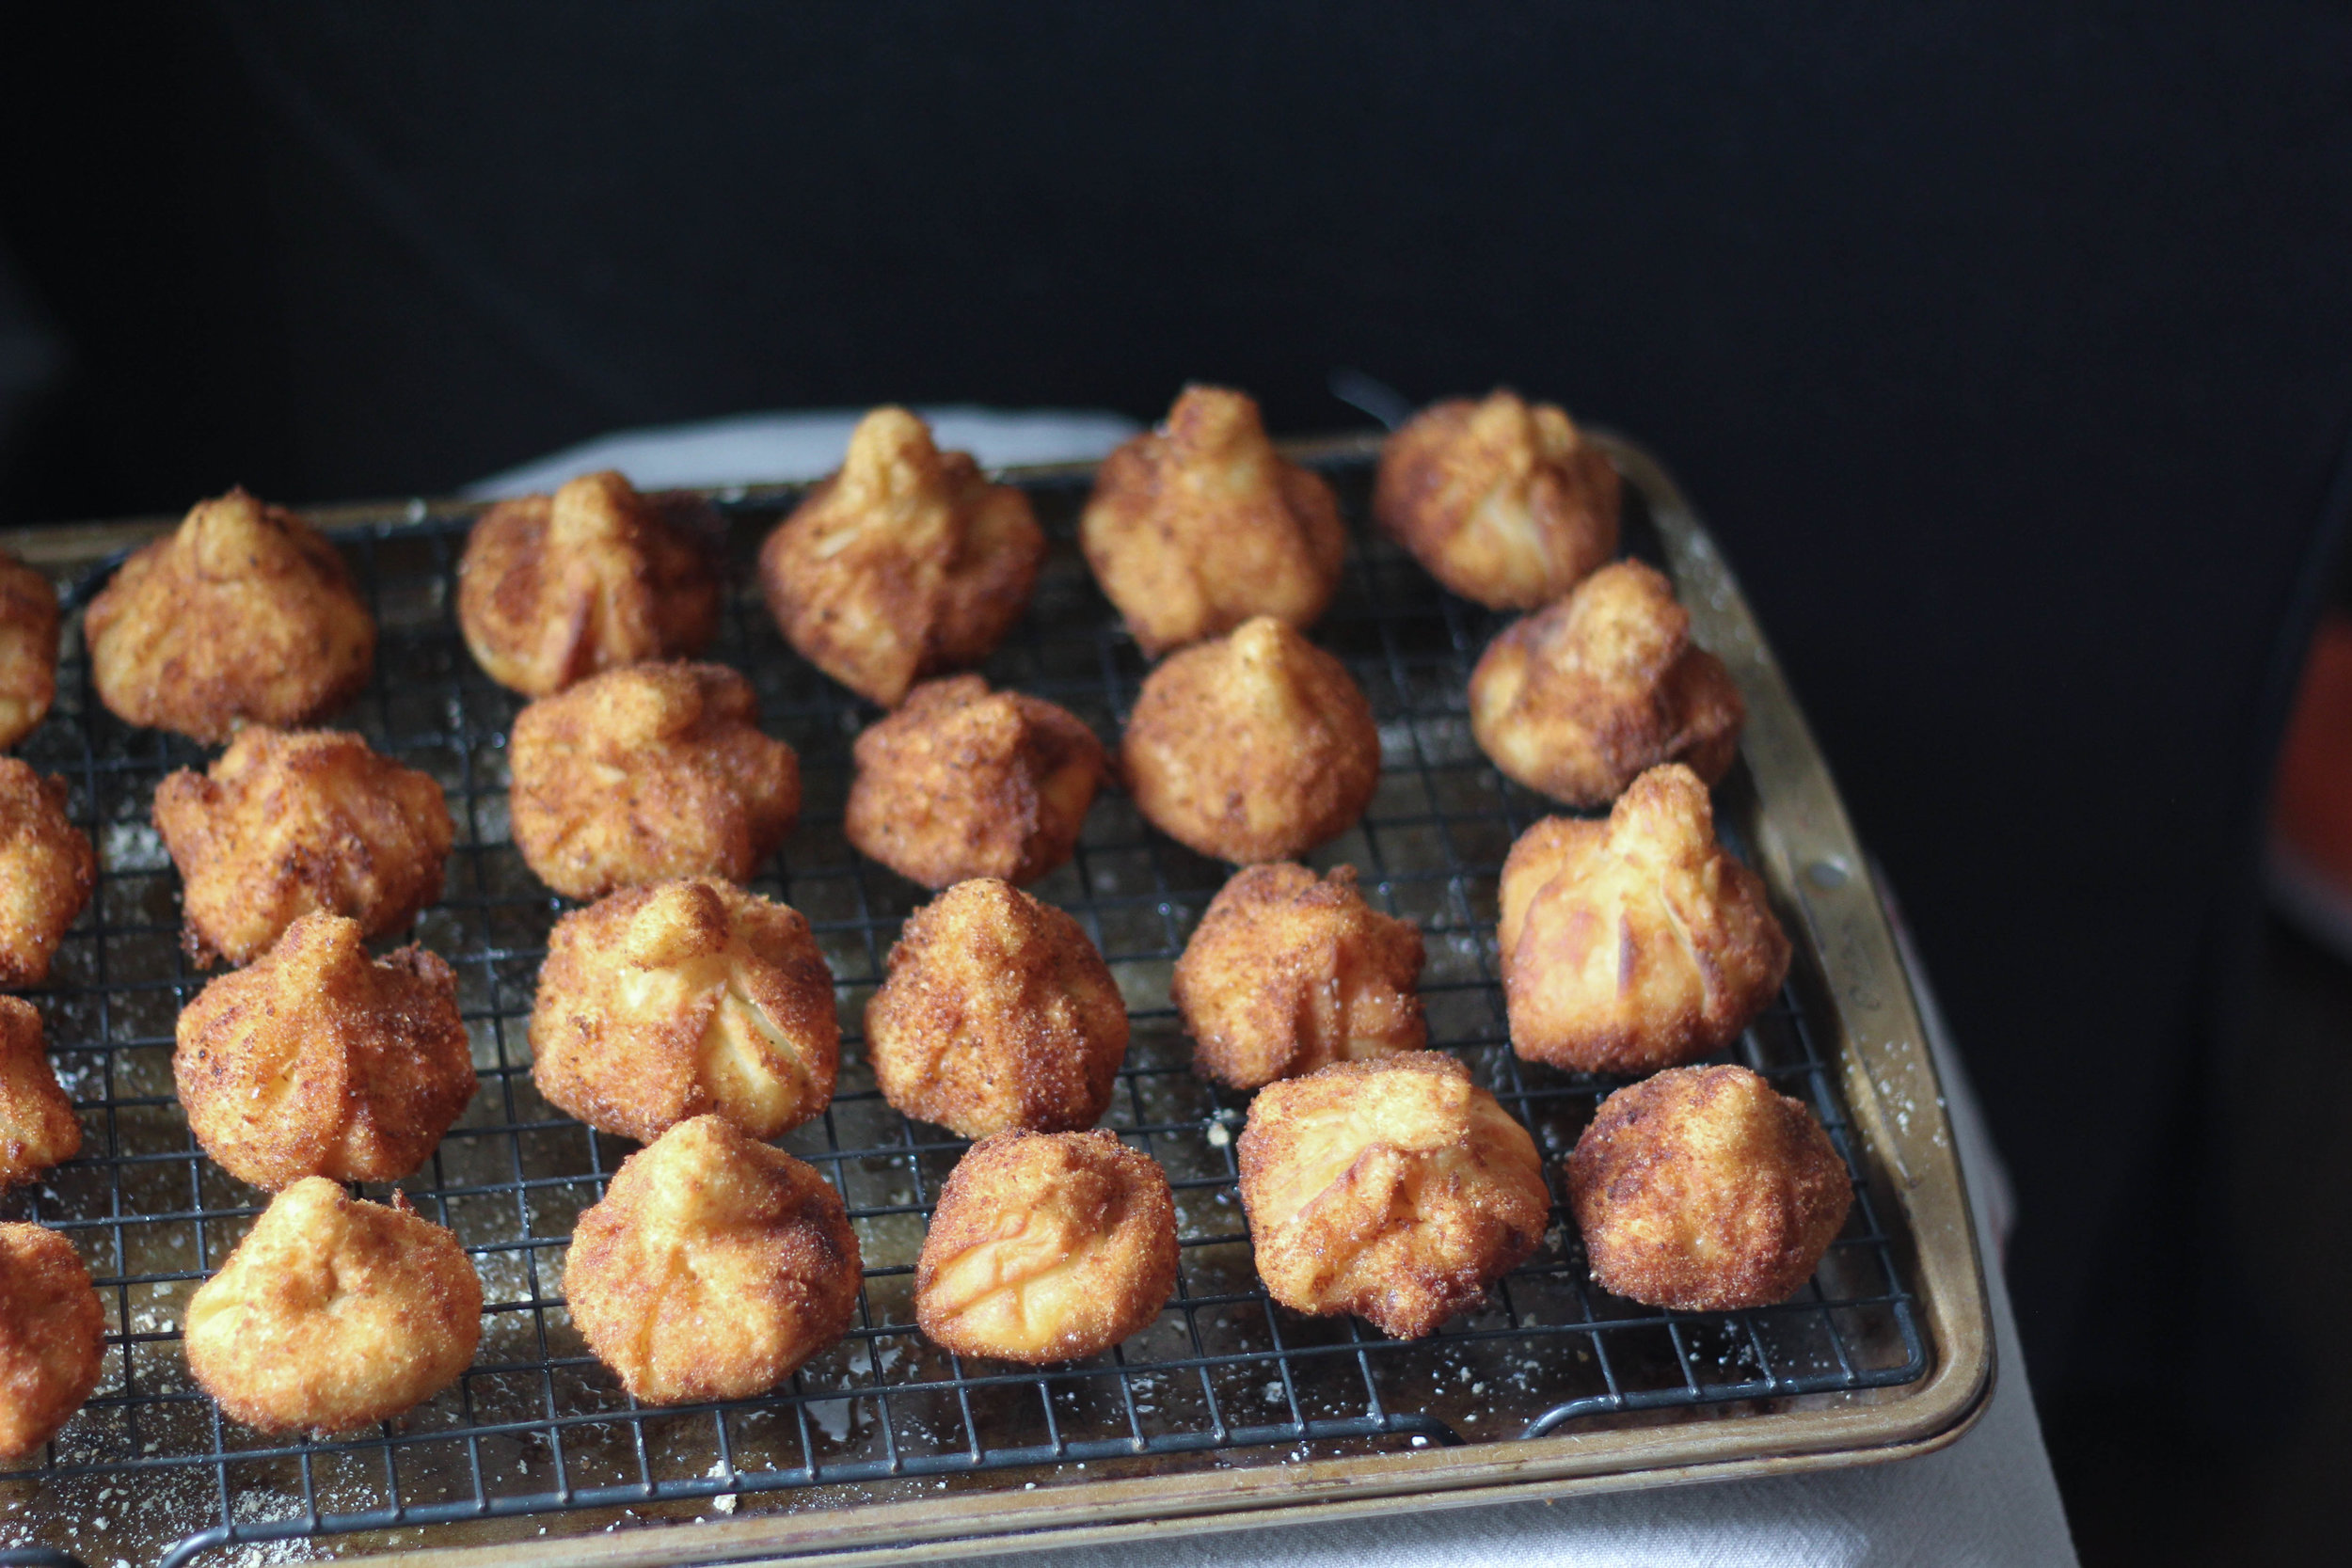
Fry the coxinha in small batches about 5 or 6 at a time until golden brown. Remove using a spider, slotted metal or bamboo utensil. Place them on the wire rack to allow any excess grease to drain.
Serve while warm.
These are great with dipped in a little creole mayo- Try this recipe


